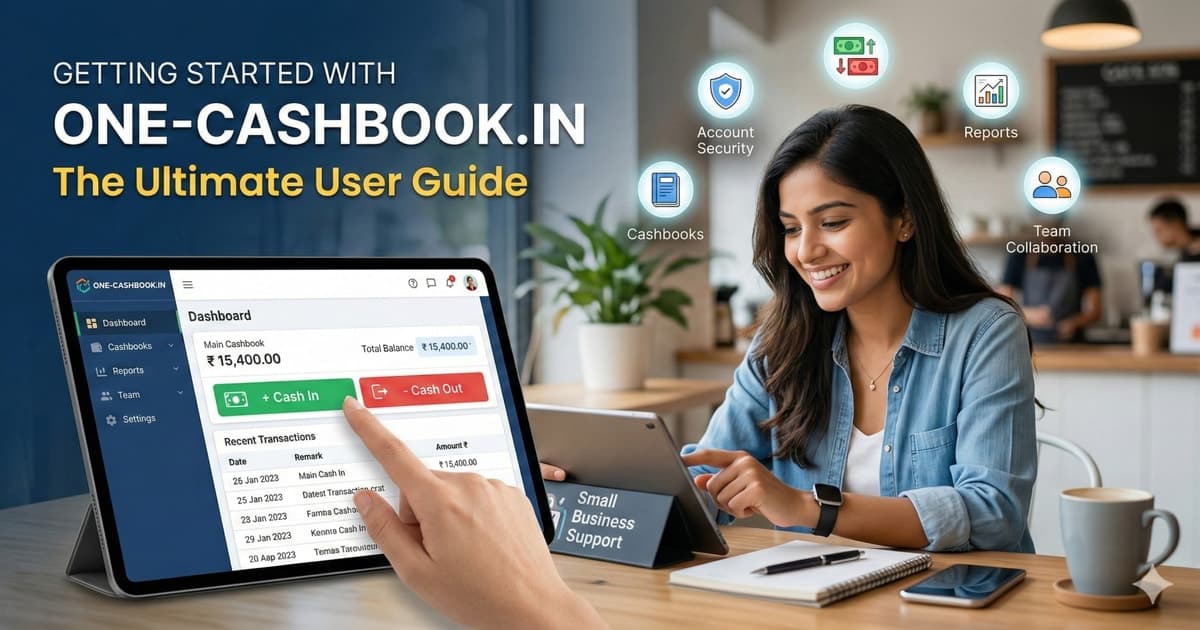
Getting Started with One-Cashbook : Complete Step-by-Step Guide

Step 1: Sign Up & Secure Your Account
- Visit www.one-cashbook.in and click the Sign Up button in the top right corner.
- Choose to Continue with Google for a quick setup, or manually enter your
- If you chose manual sign up (email and password) Check your email inbox and click the secure link to verify your email address.
- Upon logging in, you will be prompted to Add Your Phone Number. Enter your number and click Save Phone Number to ensure enhanced account security and easy recovery.
Step 2: Create Your Business
Once your account is secured, it's time to set up your business profile.
- Enter your Business Name.
- Select the Business Category that best fits your industry from the dropdown menu (e.g., Consulting / Professional Services).
- Select your Business Type (e.g., Proprietorship, Company, Partnership) and your preferred Currency (e.g., Indian Rupee).
- Click Create Business.
Step 3: Complete the Setup Checklist
After creating your business, you will land on your Home Dashboard. Follow the interactive setup checklist to prepare your account for recording transactions.

- Create a Cashbook: Think of a cashbook as a specific digital ledger. Click Create a cashbook, give it a name (e.g., "Main Cashbook" or "Branch A"), add an optional description, and click Create Cashbook.

- Add Your First Party: Click Add your first party to register a customer, supplier, or vendor you frequently do business with. Enter their name and optional contact details, then click Save.

- Set Up Categories: Categories help you organize your finances. Click Set up categories, define a category name (e.g., "Sales" or "Office Supplies"), and mark it as either Income (money coming in) or Expense (money going out).
Step 4: Record Your Transactions

With your cashbook, parties, and categories set up, you are ready to log entries.
- Open your newly created Cashbook from the dashboard.
- Choose a transaction type:
- Fill in the transaction details, including the Date, Amount, Party, and Category. You can also add optional remarks for your own reference.
- Select a Payment Mode. Note: If your payment mode (e.g., Cash, UPI, Credit Card) isn't listed, simply click + Add Mode to create it on the fly.

- Click Save to log the transaction and return to the cashbook, or Save & Add if you have multiple entries to log back-to-back.
Step 5: Export Reports
One-Cashbook automatically calculates your running balance and total cash flow. To share these records or save them for your files:
- Open your Cashbook.
- Above your recent transactions list, click Export PDF or Export Excel.
- Choose where to save the file on your computer. The generated report will provide a clean, professional summary of your net balance and all logged entries.
Step 6: Expand Your Team and Settings
As your operations grow, you can easily scale your One-Cashbook workspace.
- Navigate to Business Settings on the left-hand menu.
- Here, you can manage all your registered Parties, Categories, and Payment Modes.
- Click on Team Members to send email invitations to your colleagues, granting them specific roles (Admin, Operator, or Viewer) so they can collaborate on the business bookkeeping.
You’ve now learned exactly how to set up and use One-Cashbook — from creating your first cashbook to recording transactions and exporting reports.
It’s simple, secure, and built specifically for small businesses like yours.
Start tracking your cash in minutes — it’s 100% free.
Create Your Free Account Now →